
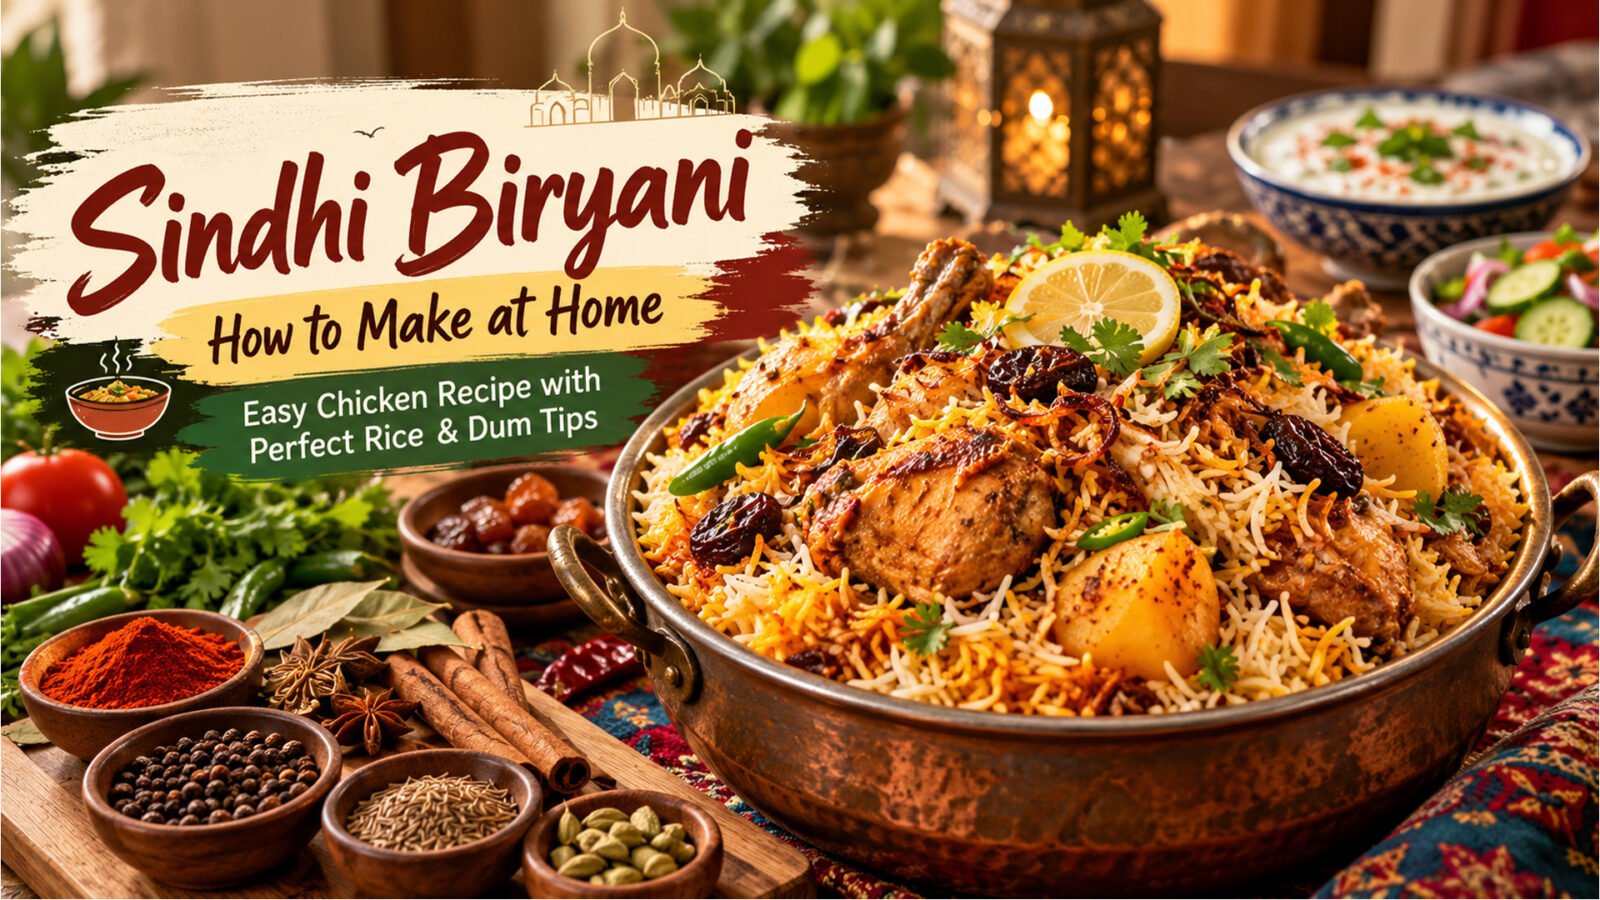
There is a particular moment when making biryani that can test even a confident home cook. The chicken masala is ready, the rice has been drained, and everything smells promising. Now comes the layering. Should the rice be cooked a little longer? Is there enough moisture in the masala? And how long should the pot stay on dum?
Get these details right, and you have a fragrant biryani with separate rice grains, tender chicken, soft potatoes and pockets of tangy, spicy flavour.
Get them wrong, and even the finest spices cannot rescue soggy rice or an unevenly cooked dish.
This Sindhi biryani recipe is designed to help you understand the process, not simply follow a list of instructions. It uses ingredients commonly associated with Pakistani Sindhi-style biryani, including tomatoes, yoghurt, green chillies, potatoes, mint and dried plums.
The method is practical for home kitchens in Britain, with measurements in grams and millilitres and clear guidance on rice, masala and steaming.
What Makes Sindhi Biryani Different?
Sindhi biryani is known for its lively combination of heat, acidity and aromatic spices.
Unlike milder rice preparations, it often features a tomato-rich masala, green chillies and dried plums, known as aloo bukhara. Potatoes are also a familiar addition in many versions.
The dried plums are particularly interesting. They provide small bursts of tanginess that contrast with the richness of the chicken and spices.
Fresh mint and coriander bring another layer of flavour, while the rice absorbs aromas from the masala during the final steaming stage.
There is no single recipe followed by every Sindhi household. Some families prefer a stronger chilli flavour, others use mutton instead of chicken, and spice combinations vary.
The version below is a balanced home-style preparation that you can adjust to your taste.
Sindhi Chicken Biryani: Recipe at a Glance
| Detail | Information |
| Preparation time | 30 minutes |
| Cooking time | Approximately 60–70 minutes |
| Total time | Around 1 hour 30–40 minutes |
| Servings | 5–6 |
| Difficulty | Intermediate |
| Main ingredients | Chicken, basmati rice, potatoes, tomatoes and spices |
| Cooking method | Masala preparation, rice parboiling, layering and dum |
Ingredients for Homemade Sindhi Biryani
This chicken Sindhi biryani recipe uses 500g of basmati rice and 750g of bone-in chicken.
For the Chicken Masala
- 750g bone-in chicken, cut into medium pieces
- 2 medium onions, thinly sliced
- 3 medium tomatoes, chopped
- 150g plain natural yoghurt, whisked
- 2 medium potatoes, peeled and halved
- 100ml neutral cooking oil
- 1½ tablespoons ginger-garlic paste
- 5–6 green chillies, slit lengthways
- 5–6 dried plums (aloo bukhara), rinsed
- 1½ teaspoons red chilli powder, or to taste
- 1 teaspoon ground coriander
- 1 teaspoon ground cumin
- ½ teaspoon turmeric
- 1 teaspoon garam masala
- 1 teaspoon salt, then adjust to taste
- 100ml water, if needed
For the Rice
- 500g aged basmati rice
- Approximately 3 litres water for boiling
- 1 tablespoon salt for the boiling water, adjusted to taste
- 1 bay leaf
- 1 cinnamon stick
- 4 green cardamom pods
- 4 cloves
- 1 teaspoon cumin seeds
For Layering and Dum
- A small handful of fresh mint leaves
- A small handful of fresh coriander
- 1 lemon, thinly sliced
- Reserved fried onions
- 1 tablespoon ghee or cooking oil
- 2 tablespoons warm milk, optional
- A tiny pinch of yellow food colouring, optional
Food colouring is not essential. The rice will still develop attractive natural variations in colour from the masala.
Step 1: Prepare the Rice Before Starting the Masala
Wash the basmati rice in several changes of cool water until the water becomes noticeably clearer.
This removes some loose surface starch that can contribute to sticky rice.
Soak the washed rice for approximately 25–30 minutes, then drain it.
While the rice soaks, prepare the onions, tomatoes, chillies and herbs.
Using aged basmati rice can help produce long, distinct grains, although the cooking method remains just as important as the variety.
Should You Use Sella or Regular Basmati Rice?
Both can be used, but they behave differently.
Sella, or parboiled basmati, generally has a firmer structure and may need a different soaking or cooking time.
Regular aged basmati is a good choice for this recipe because it develops a tender texture during dum.
If using sella rice, follow the packet’s guidance and judge the rice by texture rather than relying on a fixed boiling time.
Step 2: Fry the Onions Until Golden
Heat the oil in a large, heavy-based cooking pot over medium heat.
Add the sliced onions and cook, stirring regularly, until they turn a rich golden colour.
Avoid taking them too dark, as burnt onions can introduce bitterness.
Remove approximately one-third of the onions and place them on kitchen paper. These will be used during layering.
Leave the remaining onions in the pot.
Add the ginger-garlic paste and cook briefly until its raw aroma softens.
This stage creates the foundation of the masala, so resist the temptation to rush it.
Step 3: Build the Chicken Masala
Add the chicken pieces and stir them through the onion mixture for several minutes.
Next, add the red chilli powder, coriander, cumin, turmeric, garam masala and salt.
Stir carefully so the spices coat the chicken without burning.
Add the chopped tomatoes and cook until they soften and begin forming a sauce.
Lower the heat slightly before adding the whisked yoghurt. Stir until it is incorporated into the masala.
Add the slit green chillies and dried plums.
Cover and cook gently, adding a little water if necessary to prevent sticking.
The chicken should become tender and cook thoroughly. For food safety, the thickest pieces should reach a safe internal temperature of 75°C, measured away from the bone.
What Should the Masala Look Like?
It should be moist and richly flavoured, with enough sauce to support steaming during dum.
However, it should not resemble a thin soup.
Excess liquid can make the bottom rice layer overly wet.
A masala that is completely dry creates the opposite problem: the rice may not receive enough moisture during the final stage.
Aim for a thick but spoonable consistency.
Step 4: Cook the Potatoes Without Making Them Mushy
Potatoes are a much-loved part of many Sindhi-style biryani preparations.
But adding raw, large potato pieces too late can leave them undercooked.
A practical solution is to parboil the potato halves separately for approximately 8–10 minutes, until they have started to soften but are not fully cooked.
Drain them and add them to the chicken masala during its final cooking stage.
Allow them to finish cooking gently until tender.
The goal is to keep the potato pieces intact so they absorb the sauce without falling apart during layering.
Step 5: Boil the Basmati Rice Until Partially Cooked
Bring approximately 3 litres of water to a rolling boil in a separate large pot.
Add the salt, bay leaf, cinnamon, cardamom, cloves and cumin seeds.
Once the water is boiling, add the soaked and drained rice.
Stir gently once to prevent the grains from clumping.
Cook until the rice is approximately 70% done.
For regular soaked basmati, this may take around 5–7 minutes, but the exact timing depends on the rice variety and heat.
How Can You Tell When Rice Is 70% Cooked?
Take out a grain and press it carefully between your fingers after allowing it to cool slightly.
The outside should be soft, while the centre still feels noticeably firm.
You can also bite a grain to check for a small, firm core.
The rice should not be completely tender at this stage.
Drain it promptly.
Remember that it will continue cooking during dum.
Step 6: Layer the Biryani Without Mixing Everything Together
This is where the separate components become one dish.
Check that the chicken is thoroughly cooked, the potatoes are tender and the masala has enough moisture.
If your masala was prepared in a suitable heavy-based pot, you can assemble the biryani directly in it.
First Layer: Chicken and Masala
Spread the chicken and potatoes evenly across the bottom of the pot.
Make sure the masala is distributed rather than collected in one corner.
Second Layer: Rice
Spoon the partially cooked rice over the chicken.
Avoid pressing it down.
You want the rice to remain loose enough for steam to move through the layers.
Third Layer: Aromatics
Scatter the reserved fried onions, mint, coriander and a few lemon slices across the rice.
Drizzle over the ghee or oil.
If using food colouring, dissolve a very small amount in warm milk and sprinkle it over a few areas rather than mixing it through the entire pot.
This produces a natural-looking contrast between white and coloured rice.
Step 7: Give the Biryani Proper Dum
Dum is the gentle steaming stage that brings the flavours together.
Cover the pot with a tightly fitting lid. If necessary, use a suitable layer of foil beneath the lid to help retain steam.
Place the pot over medium heat for a few minutes until steam develops.
Then reduce the heat to its lowest setting and cook for approximately 15–20 minutes.
A heat diffuser can help protect the bottom of the pot if your hob runs hot.
Avoid repeatedly lifting the lid.
Once the dum stage is complete, switch off the heat and allow the biryani to rest, covered, for another 10 minutes.
The rice should finish cooking through the retained heat and moisture.
Why Is Resting Important?
Immediately stirring a freshly steamed biryani can break delicate rice grains.
Resting allows the temperature and moisture to settle.
When ready to serve, use a wide spoon to lift the biryani gently from the side, bringing some chicken and masala up with the rice.
You don’t need to mix the entire pot into one uniform colour.
Those contrasting layers are part of the appeal.
Five Common Sindhi Biryani Mistakes and How to Fix Them
Even an easy Sindhi biryani recipe can produce disappointing results when a few technical details are overlooked.
- The Rice Becomes Sticky
Likely cause: The rice was boiled too long before layering, or too much moisture remained in the pot.
What to do: Drain the rice while the centre is still firm and avoid adding unnecessary water before dum.
- The Biryani Tastes Bland
Likely cause: The masala or rice-boiling water was insufficiently seasoned.
What to do: Taste and adjust the cooked masala before layering. Season the boiling water appropriately, remembering that most of it will be drained away.
- The Bottom Layer Burns
Likely cause: Excessive heat during dum or a thin-based pot.
What to do: Use very low heat after steam develops and consider a heat diffuser.
- The Potatoes Remain Hard
Likely cause: Large pieces were added too late.
What to do: Partially cook the potatoes before finishing them in the masala.
- The Chicken Is Dry
Likely cause: The chicken was overcooked or exposed to prolonged high heat.
What to do: Cook it gently in the masala, check that it is thoroughly cooked and avoid unnecessary additional cooking before layering.
How Spicy Should Sindhi Biryani Be?
Sindhi biryani is often associated with a bold, spicy flavour, but there is room to adjust the heat.
If you’re cooking for people who prefer milder food, reduce the red chilli powder and green chillies.
Keep the tomatoes, yoghurt, dried plums and aromatic spices, as these provide much of the dish’s character.
For a hotter version, increase the green chillies gradually rather than adding a large amount of chilli powder all at once.
This gives you more control over the flavour.
What to Serve with Sindhi Biryani
A richly spiced biryani doesn’t need an elaborate collection of side dishes.
A cooling cucumber raita works particularly well.
You can make a simple version with plain yoghurt, chopped cucumber, a little salt and roasted cumin.
Kachumber salad is another good choice, combining chopped onion, tomato, cucumber and lemon juice.
Both provide freshness alongside the rich rice and chicken.
For drinks, plain water or a refreshing yoghurt-based drink can complement the meal.
Finding Biryani Ingredients in the UK
For home cooks in Britain, the most useful shopping decision is to choose the correct rice and identify the less familiar ingredients before starting.
Dried plums, whole spices, green chillies and suitable basmati rice all play different roles in the recipe.
If you’re unfamiliar with rice varieties, IShopDesi’s guide to buy basmati rice online UK provides related information.
IShopDesi also offers an online platform for exploring available South Asian grocery products. Current stock, individual product details and delivery eligibility should be checked before ordering.
The important thing is not to assume that every rice variety or ready-made spice mix will behave identically.
Choose ingredients that suit your preferred version of the dish.
Frequently Asked Questions
How do you make Sindhi biryani at home?
Prepare a chicken masala with onions, tomatoes, yoghurt, spices, green chillies and dried plums. Partially boil basmati rice, layer it over the cooked chicken and potatoes, then steam everything gently until the rice is tender.
What is the difference between Sindhi biryani and regular chicken biryani?
Sindhi-style versions commonly emphasise tangy tomatoes, dried plums, green chillies and potatoes. Other biryani styles may use different spice combinations, levels of acidity and cooking methods.
Can I make Sindhi biryani without dried plums?
Yes, but the flavour will change. Dried plums contribute a distinctive tangy note. You can make a tasty biryani without them, although it won’t have quite the same balance.
Which rice is best for Sindhi biryani?
Aged long-grain basmati is a popular choice because it can produce separate, aromatic grains when soaked, parboiled and steamed correctly.
How long should biryani stay on dum?
For this quantity, approximately 15–20 minutes on very low heat after steam develops is a useful starting point. The exact time depends on the pot, hob and how far the rice was cooked beforehand.
Why does my biryani rice become mushy?
The most common causes are overboiling before layering, excess liquid in the masala and excessive cooking during dum.
Can I use boneless chicken?
Yes. Boneless chicken can work, but it usually cooks faster than bone-in pieces. Adjust the cooking time and ensure the chicken is thoroughly cooked.
Is ready-made Sindhi biryani masala necessary?
No. You can make the dish using individual spices. A ready-made mix is another option, but its salt and chilli content may differ, so follow the packet instructions and adjust other seasonings accordingly.
Final Thoughts: Great Biryani Is About Timing, Not Just Spices
A memorable biryani doesn’t come from adding the greatest number of ingredients.
It comes from giving each ingredient the right treatment.
The onions need time to develop colour. The chicken needs a well-balanced masala. The rice must be drained before it becomes fully tender. And the final dum needs gentle, controlled heat.
Once you understand those stages, preparing Sindhi biryani becomes much less intimidating.
You can adjust the chilli, experiment with your family’s preferred spice blend and gradually develop a version that feels like your own.
The next time you lift the lid, the reward should be a pot of fragrant rice, tender chicken, soft potatoes and the unmistakable tang of a well-made Sindhi-style biryani.













Leave a comment